| AutoFEM Analysis Step 2. Creating Study | |||||||
| AutoFEM Analysis Step 2. Creating Study | |||||||
Step 2. Creating study
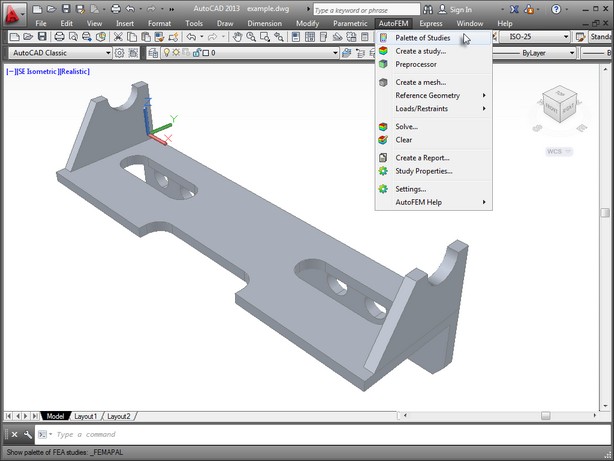
Once a three-dimensional model of the part is built in AutoCAD or imported into the system, you can proceed to preparing the finite element model. Any type of calculations in AutoFEM begins with creating a "Study" using the "Create Study" command in the "AutoFEM" menu of AutoCAD (" AutoFEM | Create Study ").
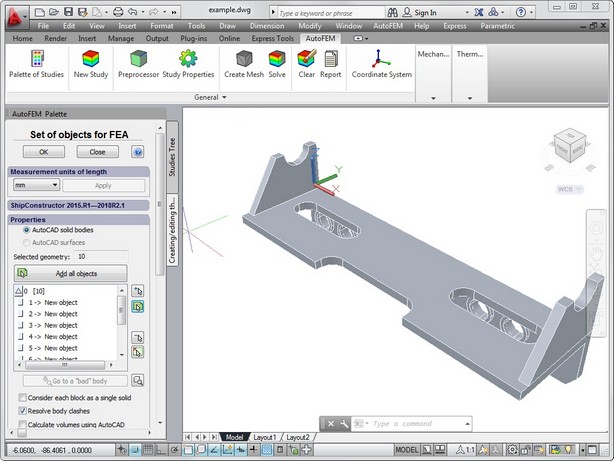
Include AutoCAD's 3D solids or surfaces in "Set of objects for FEA." These objects can then be used for the finite element modelling. This "set of objects for FEA" is used for all studies of this document.
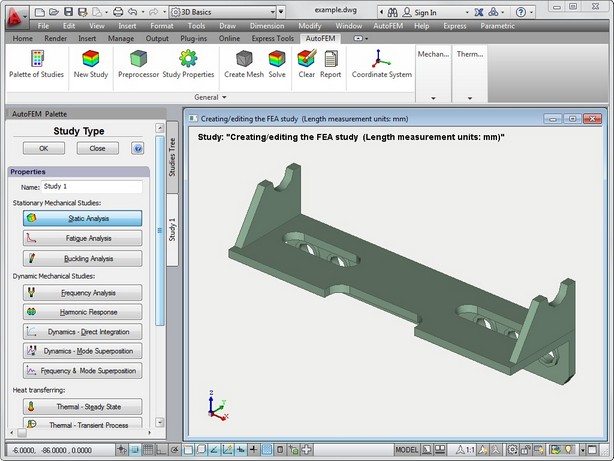
When creating a study, the user defines its type ("Static Analysis", "Frequency Analysis", "Buckling Analysis", "Thermal Analysis", and another).
Additionally, if more than one solid body is present in the scene, then you need to specify, for which body in the scene you are creating the study or use "Select all bodies" button - ![]() .
.
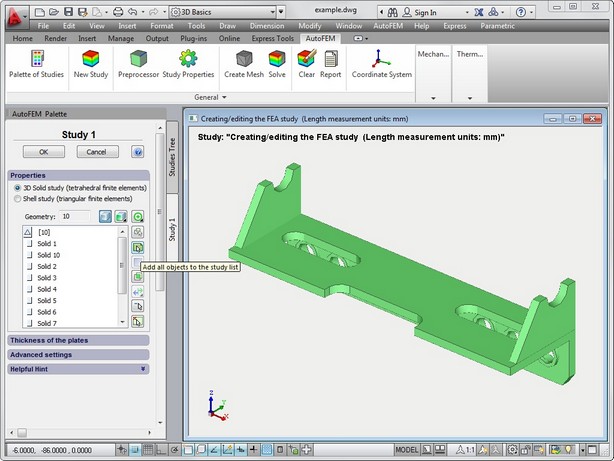
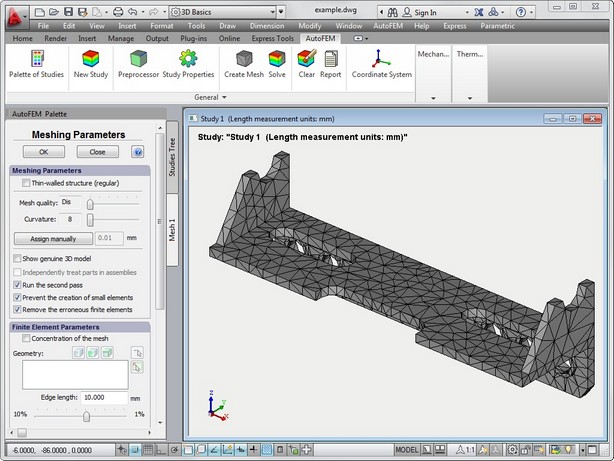
By default, the " AutoFEM | Create Mesh " command is started automatically when creating a new study. Thus, upon the successful study creation, a dialogue appears providing controls for finite element mesh generation; upon the successful completion of the latter, we obtain a meshed model, made of tetrahedra approximating the solid model of the part.
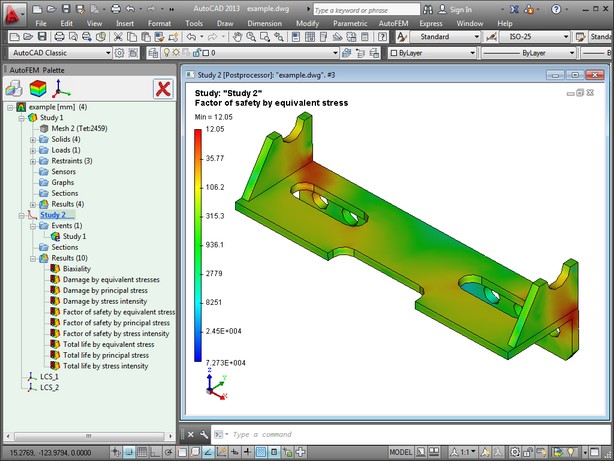
The " AutoFEM | Palette of Studies " command opens the study window, which displays the studies present in the current document and their elements in a tree view.
The just created study becomes active. The newly created study elements and the issued Analysis commands will pertain to the active study.
If there are many different studies in the document, then only one of them can be active. Switching an active study is done via the context menu accessed by ![]() understudy name. The «Activate» command is provided for inactive studies.
understudy name. The «Activate» command is provided for inactive studies.
See also: Creating Study